Call Now: Free Estimates(612)-987-1566
    Wallpaper Removal That Leaves a Paintable Wall, Not a Mess
    Webster's Quality Painting • In business since 2000

    Wallpaper Removal That Leaves a Paintable Wall, Not a Mess

    In business since 2000
    Fully insured
    2–3 yr exterior warranty
    Owner on every job
    Webster's Quality Painting

    Why homeowners choose Webster's Quality Painting

    Webster's Quality Painting has done Twin Cities interior work for 26 years, and we treat wallpaper removal as the first half of a wall project, not a standalone demolition. The goal isn't just bare wall, it's a smooth, sealed, primed surface that takes paint cleanly, with no torn paper facing, no gouges, and no glue haze telegraphing through your new color. We're fully insured. Call (612)-987-1566 for a free estimate.

    Here's the honest framing most quotes skip: wallpaper removal is unpredictable by nature, because the wall behind the paper is a mystery until the first strip comes off. We've pulled paper off original plaster in older St. Paul and Stillwater homes, off unprimed drywall in 90s builds where a previous owner hung paper straight onto bare board, and off walls with three layers stacked on top of each other. Each one behaves differently, and each one changes the labor. That's why we don't quote wallpaper removal by a flat per-roll or per-square-foot number sight unseen. Every job is different. Contact Webster's Quality Painting for an accurate estimate.

    Ready to get started?

    Call now or request a free quote — we typically respond same day.

    Wallpaper Removal Done Right: What the Job Actually Involves
    Real wallpaper removal is maybe 30% pulling paper and 70% dealing with what the paper leaves behind. Anyone can peel the easy top layer. The work is in the residue, the substrate, and the repair. Before we touch a wall, we test a small section to find out what we're dealing with: how the paper releases, whether it's on plaster or drywall, and whether the wall was primed before the paper went up. That test decides the whole method. And it's the detail that decides everything: if the drywall was primed or sized before the paper was hung, removal is usually clean. If the paper went straight onto bare, unprimed drywall (common in fast 1990s Twin Cities builds), the paper's adhesive bonds to the paper face of the drywall itself, and pulling it tears the board. That's the difference between a one-day job and a skim-coat repair. Once the paper and backing are off, the wall isn't done. Old wallpaper paste leaves a glue haze that has to be washed off completely, because paint won't bond over it and it'll flash through your finish. Then the wall gets rinsed, dried, any torn facing or gouges repaired, sanded smooth, and primed with a stain-blocking primer before a drop of color goes on. If your walls need more than surface patching, that overlaps directly with our drywall installation and repair work. Call (612)-987-1566 and we'll test a corner before we quote.
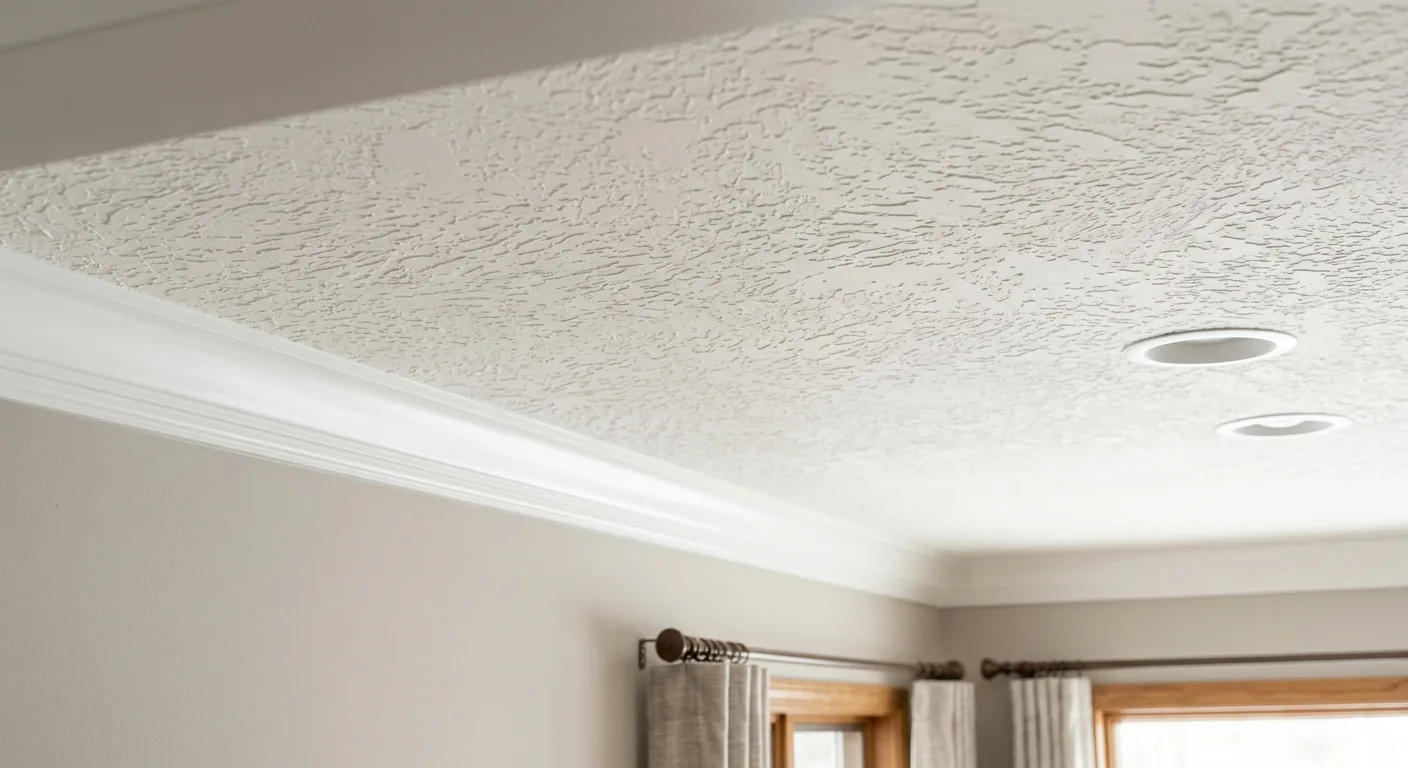
    Drywall surface skim-coated and sanded smooth before priming after wallpaper removal.

    How to Remove Wallpaper: Steam, Solution, or Dry-Strip
    There's no single right method. The paper, the adhesive, and the wall behind it decide which approach we use, and on a lot of jobs we use more than one on the same wall. Here's how the three actually compare on a real Twin Cities interior. Dry-strip (peel-and-strip) is first: modern strippable and vinyl papers are designed to peel off in whole sheets, sometimes leaving a paper backing behind that still has to be soaked off, and when it works it's the fastest and cleanest method, so we always test for it first because if the paper strips dry, the rest of the job gets a lot easier. The solution method (soak-and-scrape) is the workhorse for older paper and paste: a wallpaper-removal solution or warm water with additive is rolled or sprayed on, given time to penetrate and dissolve the paste, then the paper is scraped off with a broad knife, and scoring the paper first lets the solution reach the glue on non-porous vinyls. Steam is the last tool: a wallpaper steamer forces hot vapor through the paper to melt stubborn adhesive, which is what we reach for on old, heavily glued, or multi-layered paper that solution alone won't budge, and it's also where amateurs do the most damage, because too long in one spot on drywall softens the paper face of the board and gouges it. Steam is a technique, not just a rented machine.
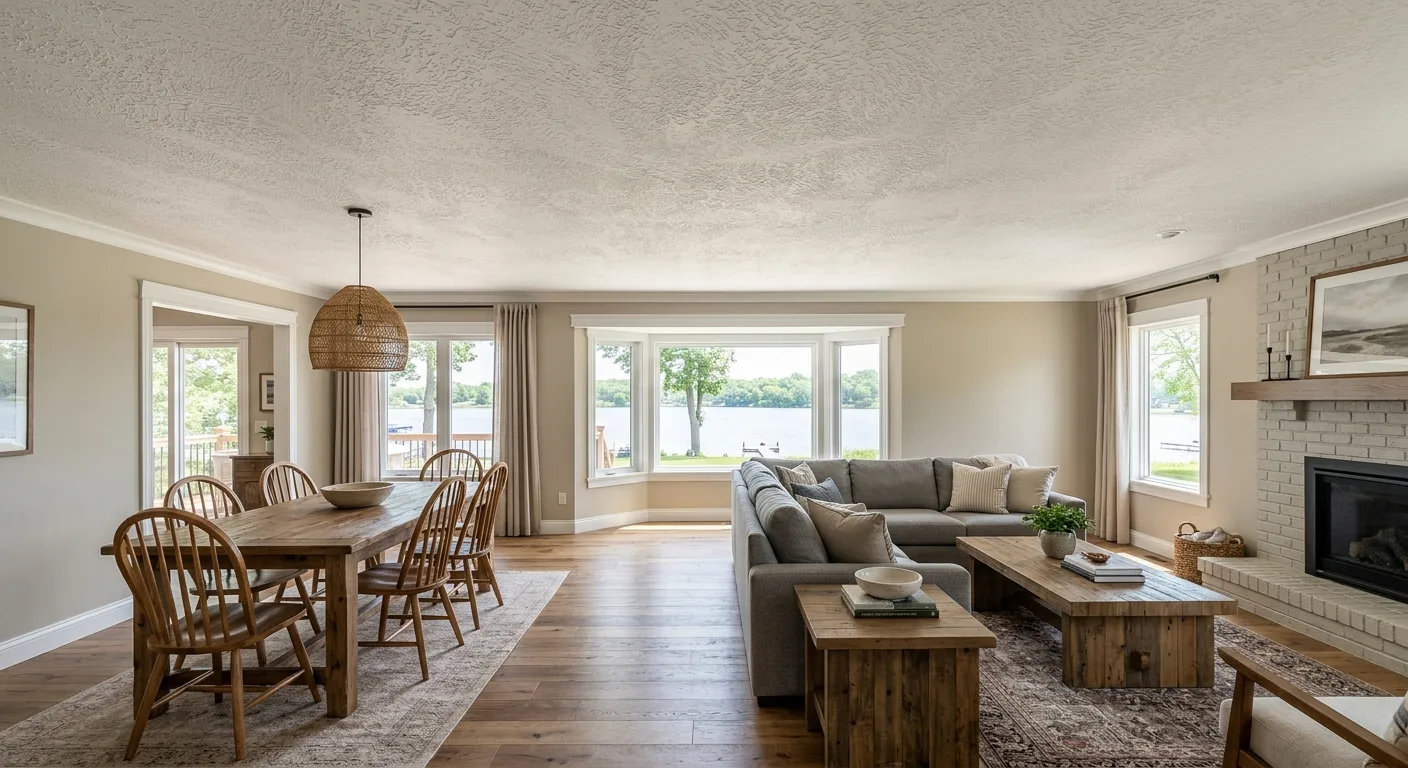
    Primed interior wall ready for fresh paint following professional wallpaper removal.

    Patience Over Force: The 26-Year Lesson on Wallpaper
    After 26 years, the biggest lesson on wallpaper is patience over force. Let the solution or steam do the work of releasing the glue. The second you start prying at bonded paper to save time, you tear the wall, and now you own a drywall repair instead of a paint job. We pick the method (or the combination) based on what your specific wall tests out to, not on what's fastest for us to bill. Get a free estimate and we'll tell you which your walls call for.
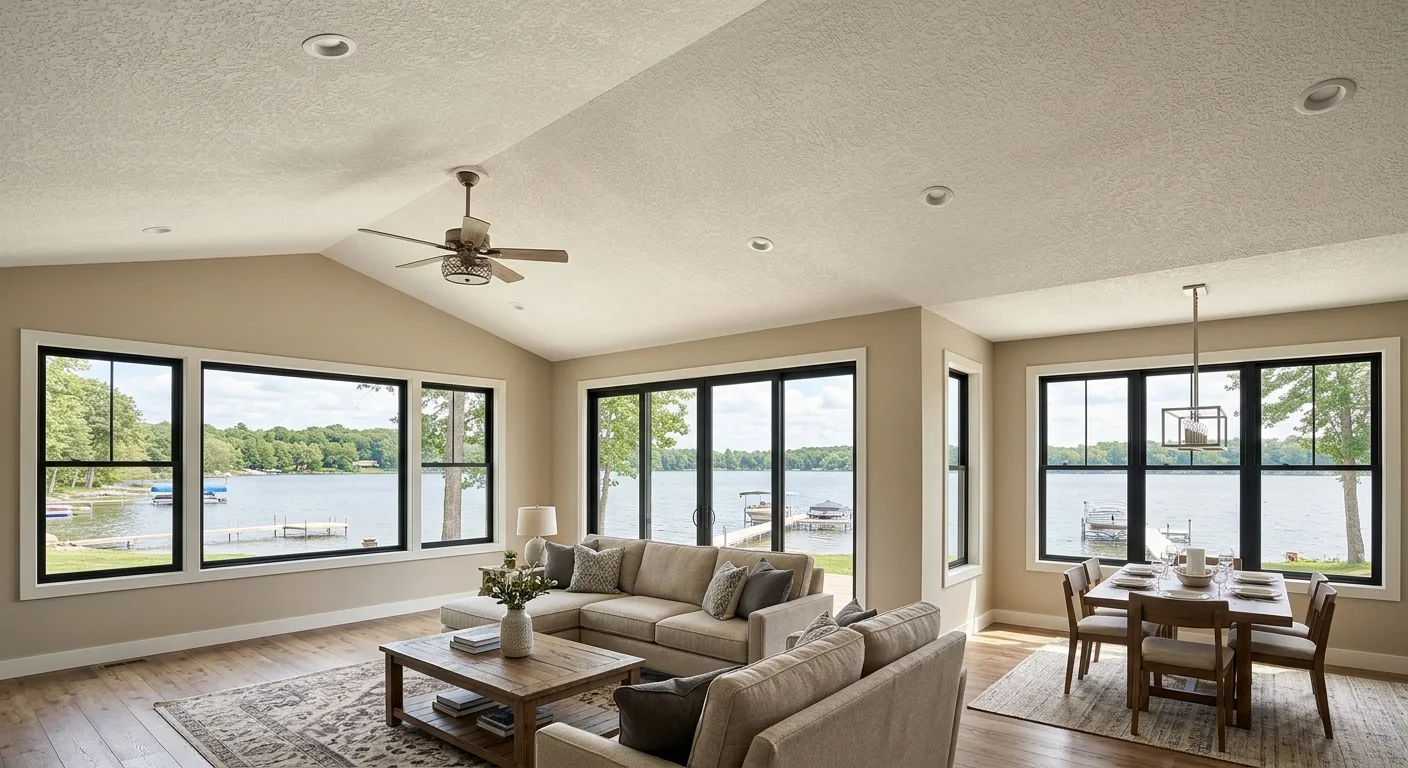
    Finished interior wall painted after wallpaper was removed and the surface repaired.

    How to Fix Wall Damage After Wallpaper Removal
    This is the step DIY removals almost always underestimate, and it's the difference between a wall that looks freshly finished and one where every old flaw shows through the new paint. Once the paper is off, the wall gets a full assessment in raking light before anything gets painted. Here's what we repair before priming. Torn drywall facing: where paper pulled up the paper layer of the drywall, those fuzzy spots get sealed with an oil- or shellac-based primer first (so a water-based skim coat doesn't re-wet and bubble the torn paper), then skim-coated smooth. Glue haze and residue: any remaining paste is washed off completely, because paint over dried wallpaper paste reactivates, flashes, and can peel, and this is non-negotiable. Gouges, seams, and old patch lines: divots from scraping, exposed seams, and any prior damage the paper was hiding get filled, sanded flat, and feathered out. Uneven texture: if the wall was textured or patched unevenly under the paper, we skim-coat to a uniform surface so the finish paint reads consistent across the whole wall. The reason we prime before we patch on torn walls is that sealing the torn drywall facing first locks it down so it can't lift or bubble later; skim-coating straight over raw torn paper traps that weakness under your finish, and it shows up as blisters six months down the road. For walls that took real damage, or where a previous removal left a rough surface behind, the repair overlaps with our full drywall installation and repair service. When the wall is smooth, sealed, and primed, it's ready for the fun part: fresh color as part of a residential interior repaint. That handoff, from bare repaired wall to finished paint, is exactly why we'd rather do both halves of the job. Tell us what's going on and we'll come back with a plan.
    Interior wall prepped and smoothed after wallpaper removal in a Twin Cities home.

    Wallpaper Removal vs. Painting Over It: The Overlap With Paint Stripping

    People ask whether they can just paint over wallpaper, and the honest answer is: sometimes, but rarely well, and almost never on paper that's already lifting. Painting over wallpaper seals moisture-sensitive paper under a paint film, and any loose seam or bubble under that paint becomes a permanent, visible flaw you can't fix without pulling it all anyway. If the paper is old, textured, or lifting at the seams, removal is the right call, full stop. There's a related point worth naming: removing wallpaper is a surface-prep discipline, the same family of work as our paint stripping service. Both are about getting back to a sound substrate before you refinish, and both go wrong the same way, when someone rushes the release step and damages the material underneath instead of letting the solvent, solution, or steam do the work. The one case where paint-over can be defensible is a single layer of well-adhered, non-textured paper that's fully bonded with no lifting seams, sealed first with a proper primer. Even then, we'll tell you the tradeoff honestly, because you're locking that paper in permanently. Most of the time, on the walls we see across the metro, clean removal down to a paintable surface is what actually holds up.
    Drywall surface skim-coated and sanded smooth before priming after wallpaper removal.

    When Wallpaper Removal Is the Wrong Call

    We'd rather point you the right direction than sell you a job you don't need, so here's when removing your wallpaper isn't the move. If you have a single layer of modern, well-adhered, non-textured paper with zero lifting seams, and you genuinely like the smooth surface it presents, a proper primer-and-paint over the top can be a legitimate shortcut. You don't automatically need a full strip. The honest exception: if your walls are original horsehair plaster in an older Twin Cities home and the paper is doing structural duty holding a cracked surface together, aggressive steam-and-scrape removal can do more harm than good. That's a walkthrough conversation, not a default strip, and we'll flag it before we start, not after. And if what you actually want is just a color change and the wallpaper underneath is sound and paintable, we'll tell you that too, and route you straight to a residential interior repaint instead of charging you for removal you don't need. We don't have emergency or after-hours service, so wallpaper jobs get scheduled Monday through Friday during working hours. Call (612)-987-1566 and Mike will take a look at your walls first.
    Primed interior wall ready for fresh paint following professional wallpaper removal.

    Have a project in mind?

    Free, no-pressure quote — let's talk about what you need.

    Our Work

    Recent Projects

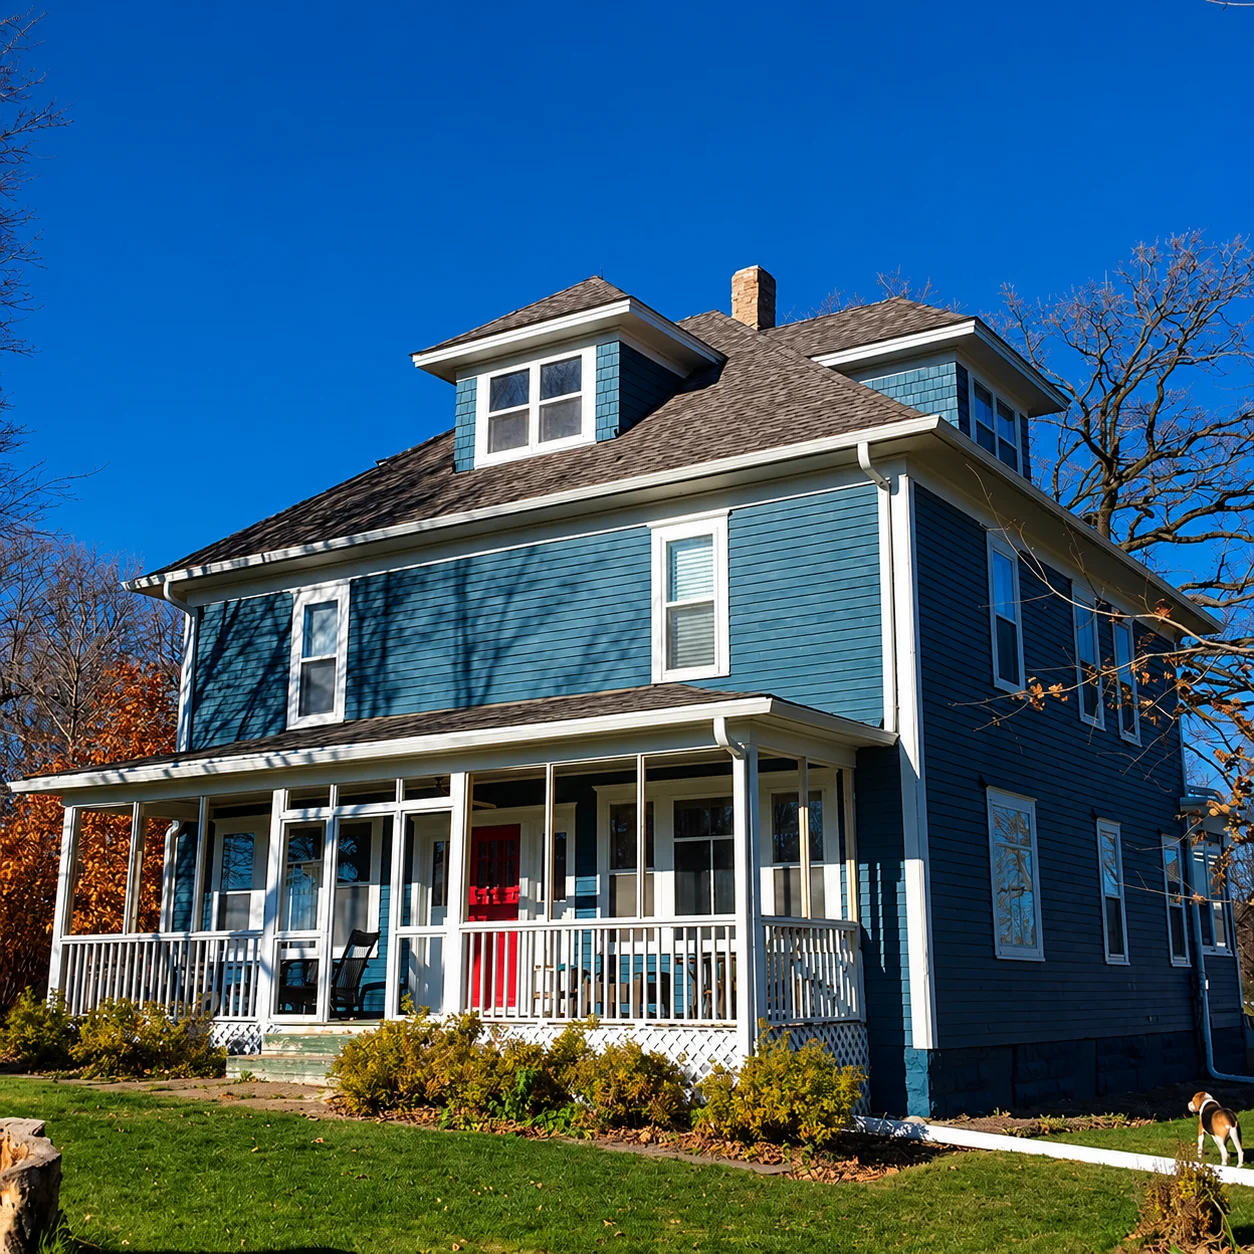
    Two-story home freshly painted in deep navy blue with crisp white trim and wraparound porch.
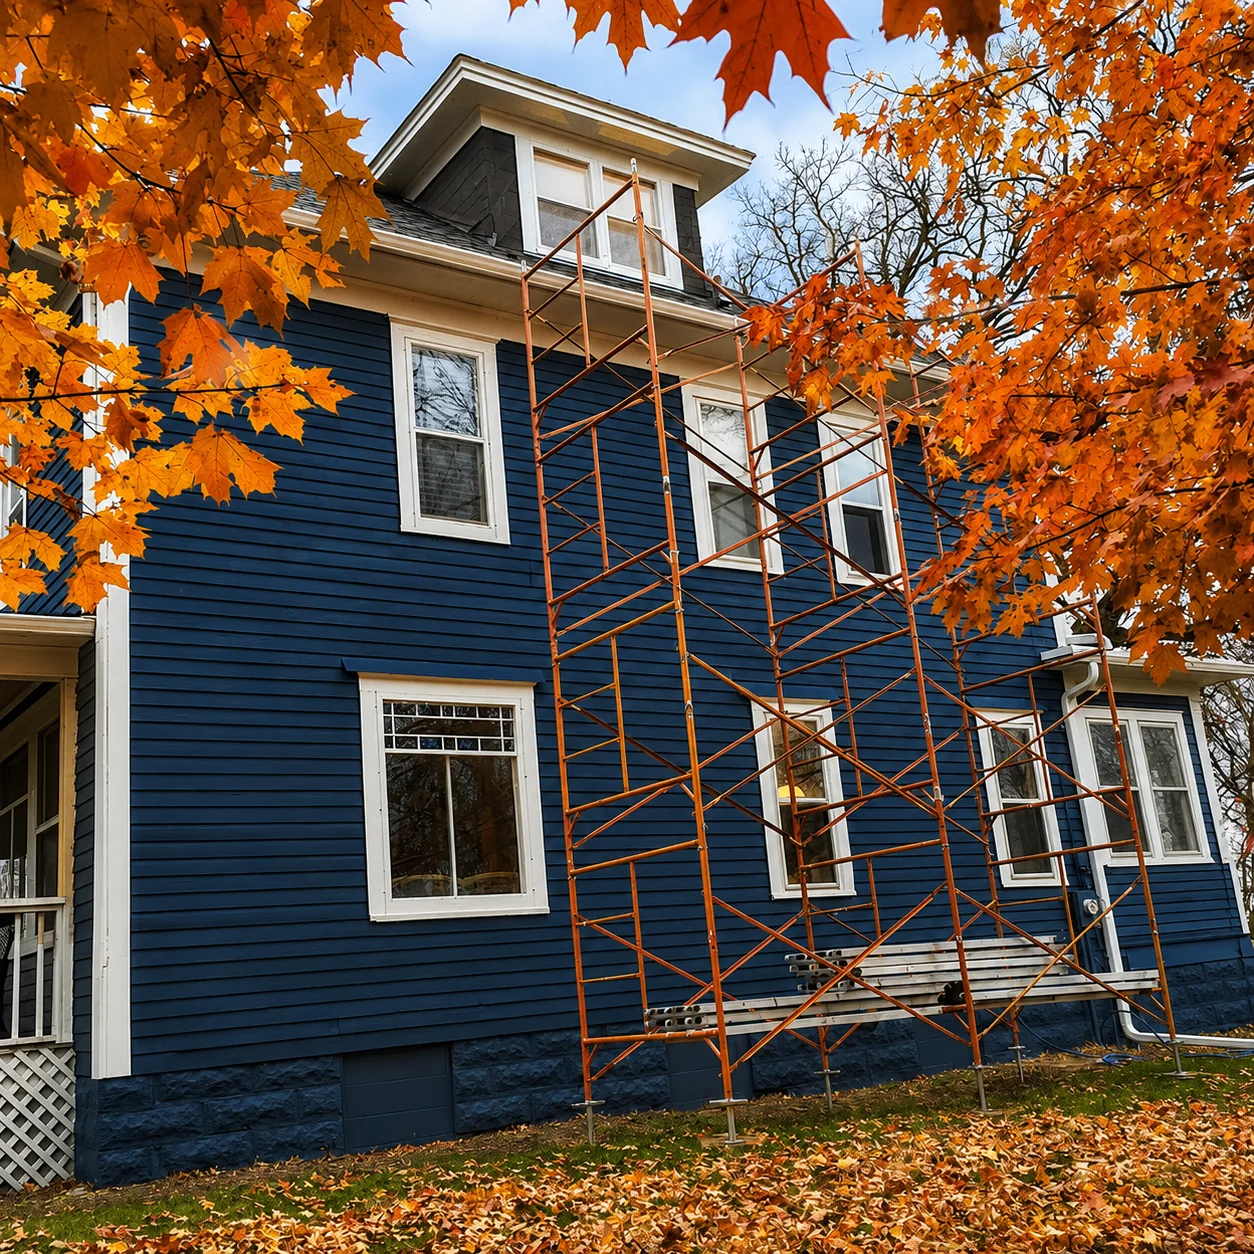
    Webster's Quality Painting crew mid-project on a navy blue exterior repaint with scaffolding in autumn.
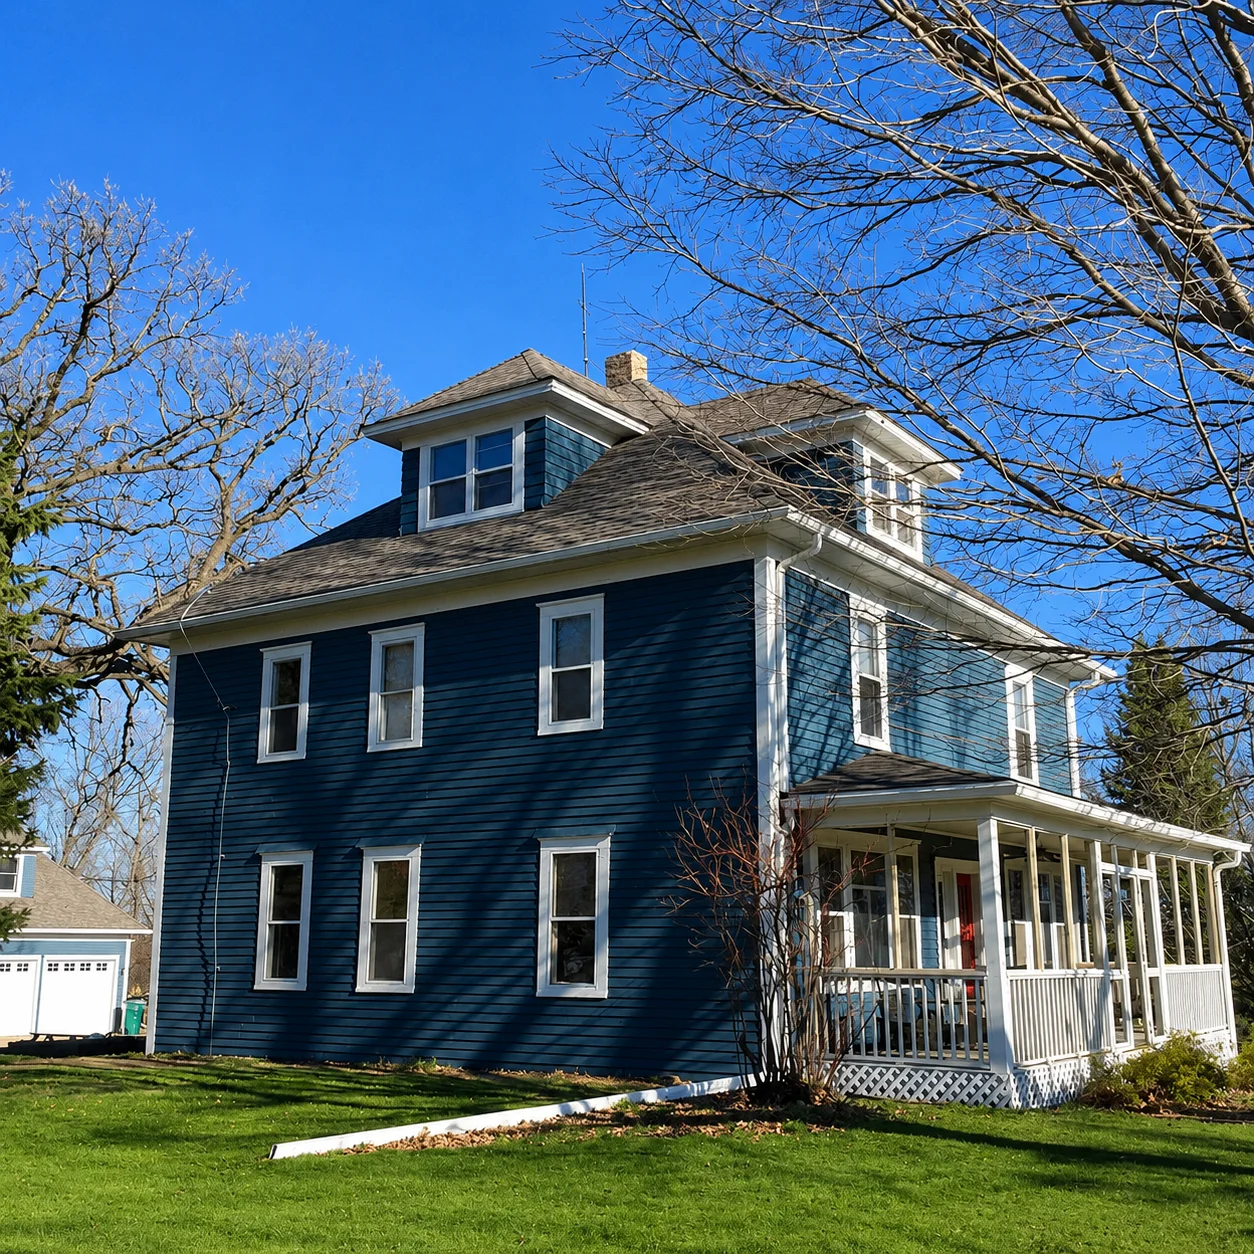
    Completed navy blue exterior repaint with bright white trim under a clear sky.
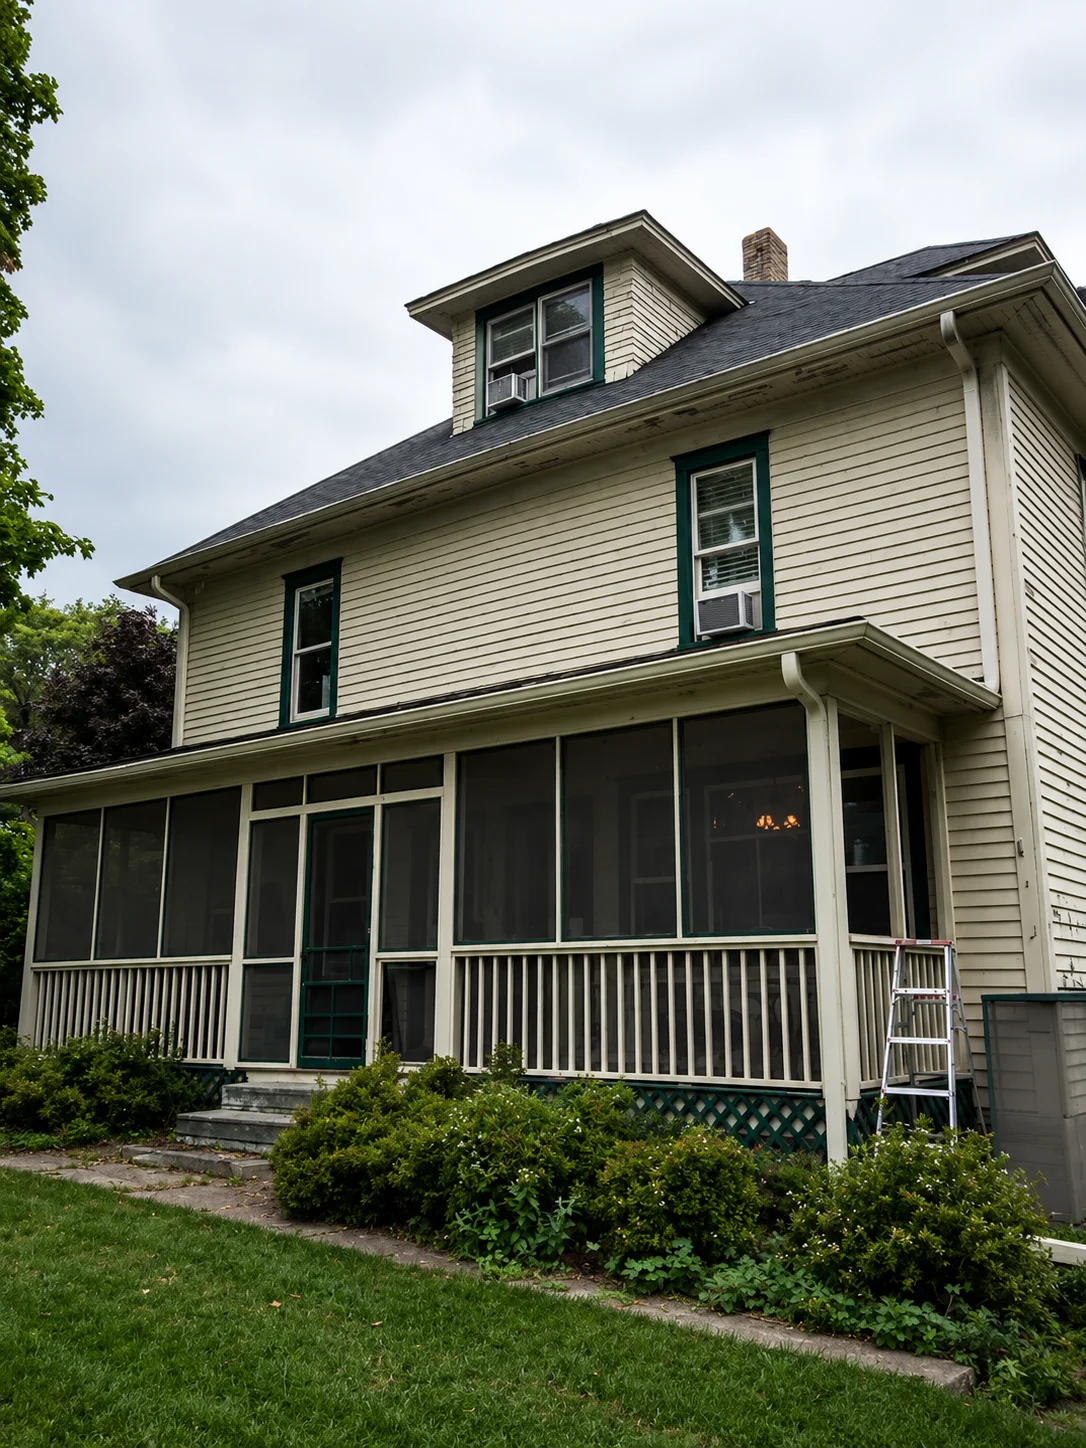
    Before shot: original cream siding with dark green trim, prior to Webster's Quality Painting exterior repaint.
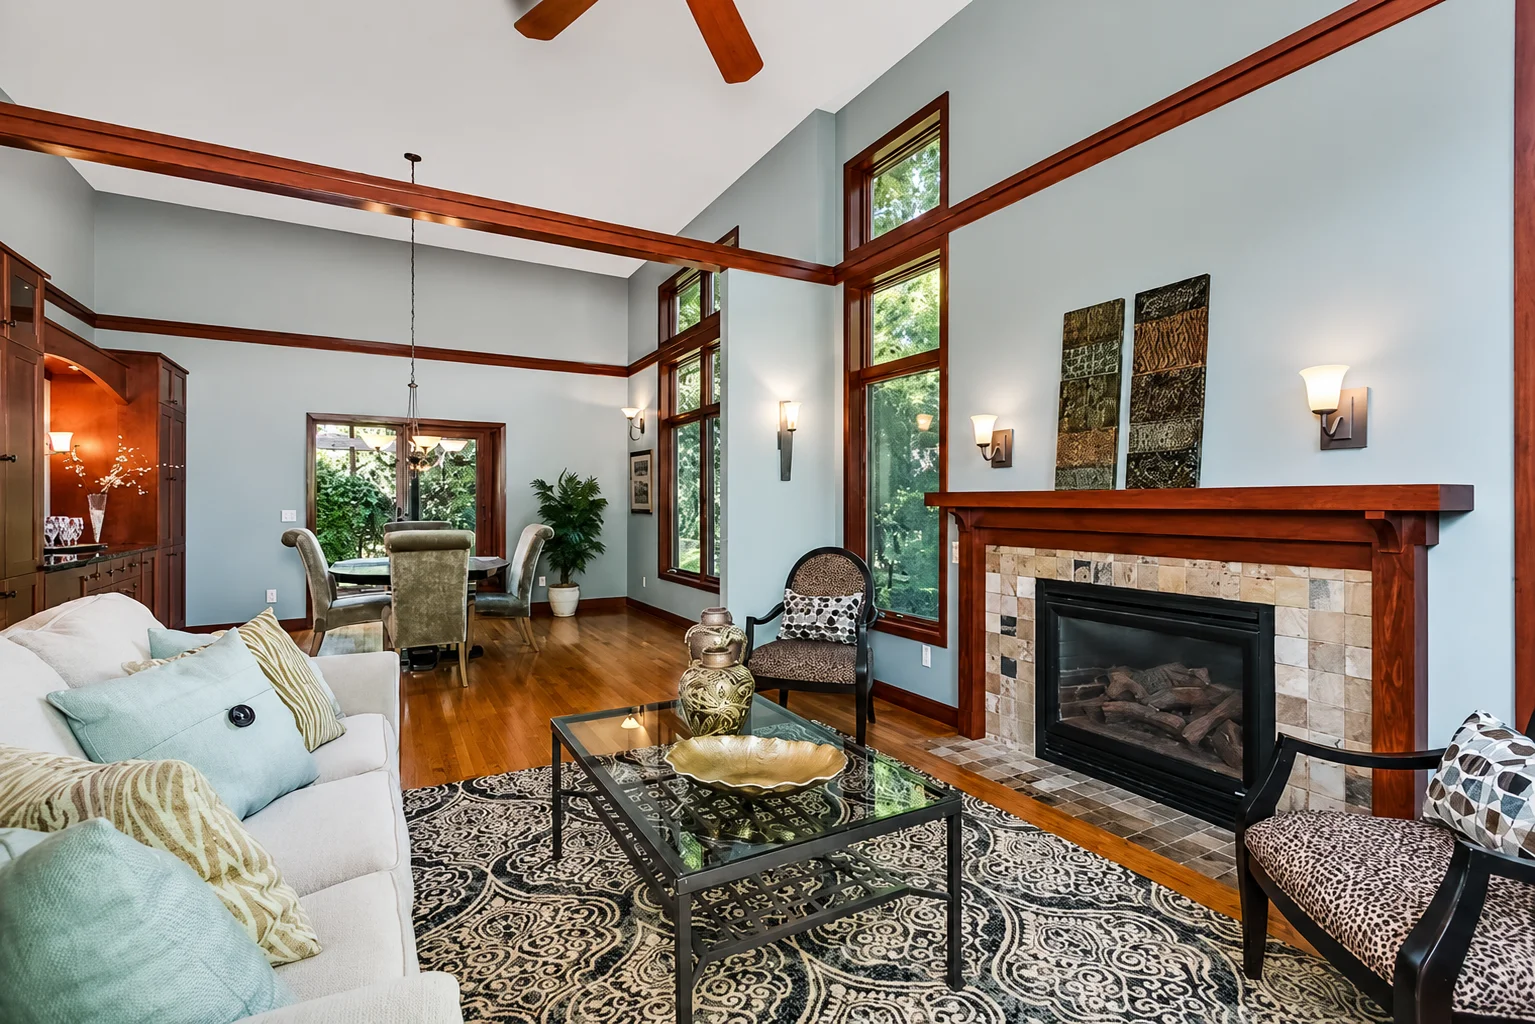
    Open-concept living room painted in a soft blue-gray with rich wood trim, fireplace surround, and vaulted ceiling.
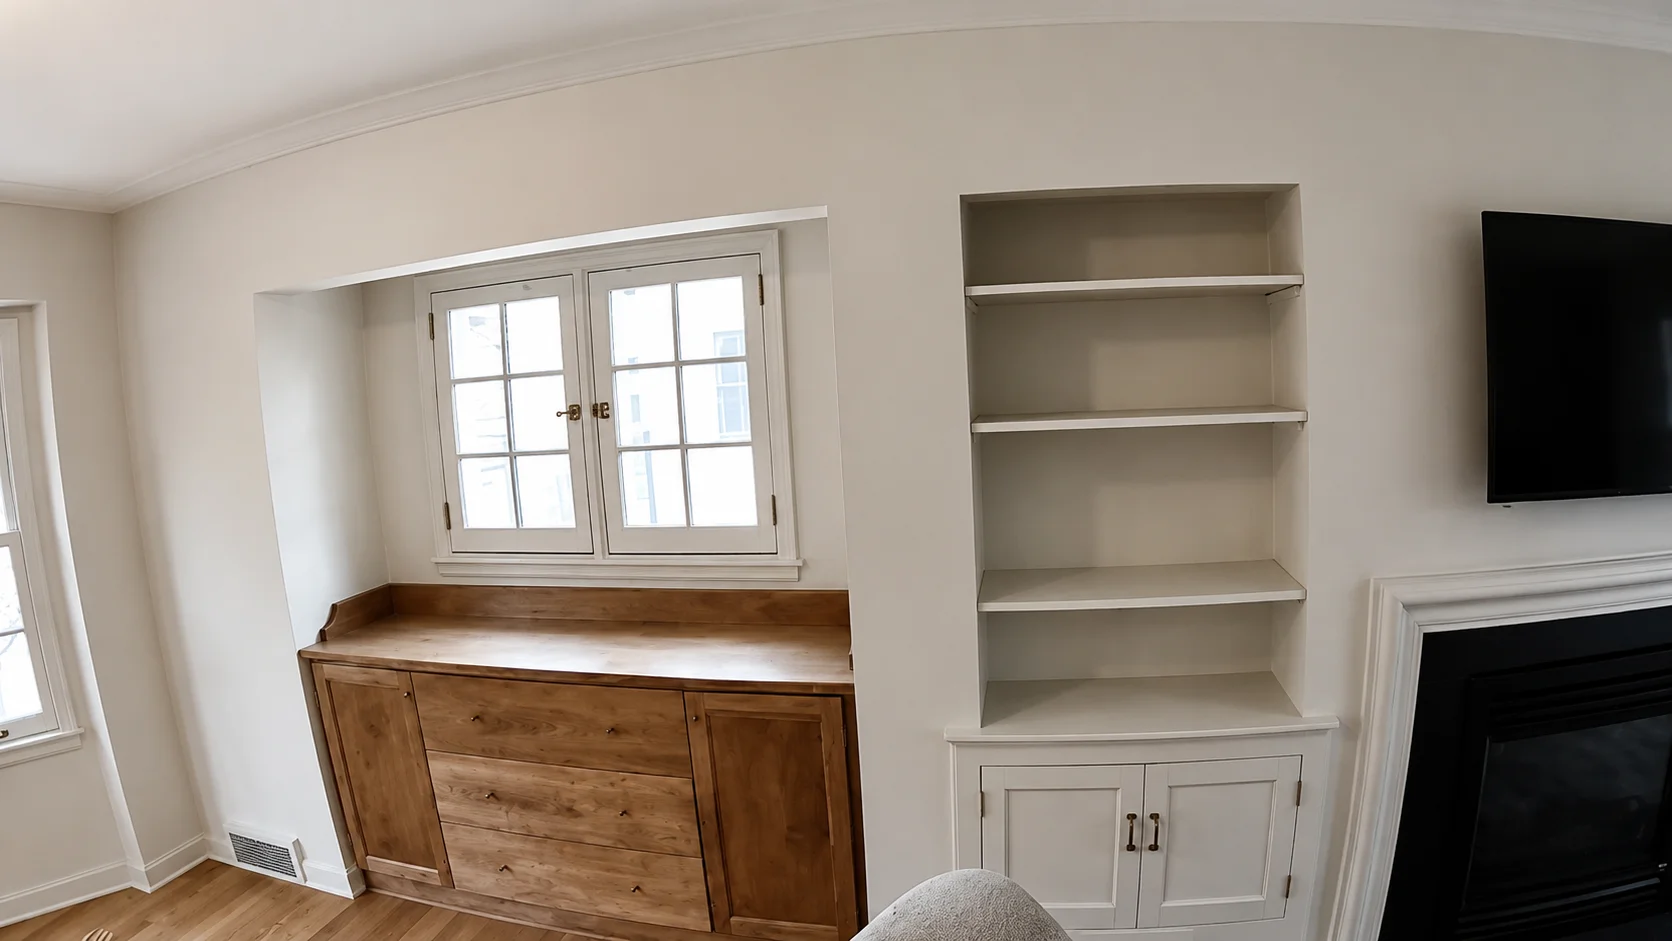
    Built-in window bench and shelving painted in a clean neutral finish beside a fireplace.
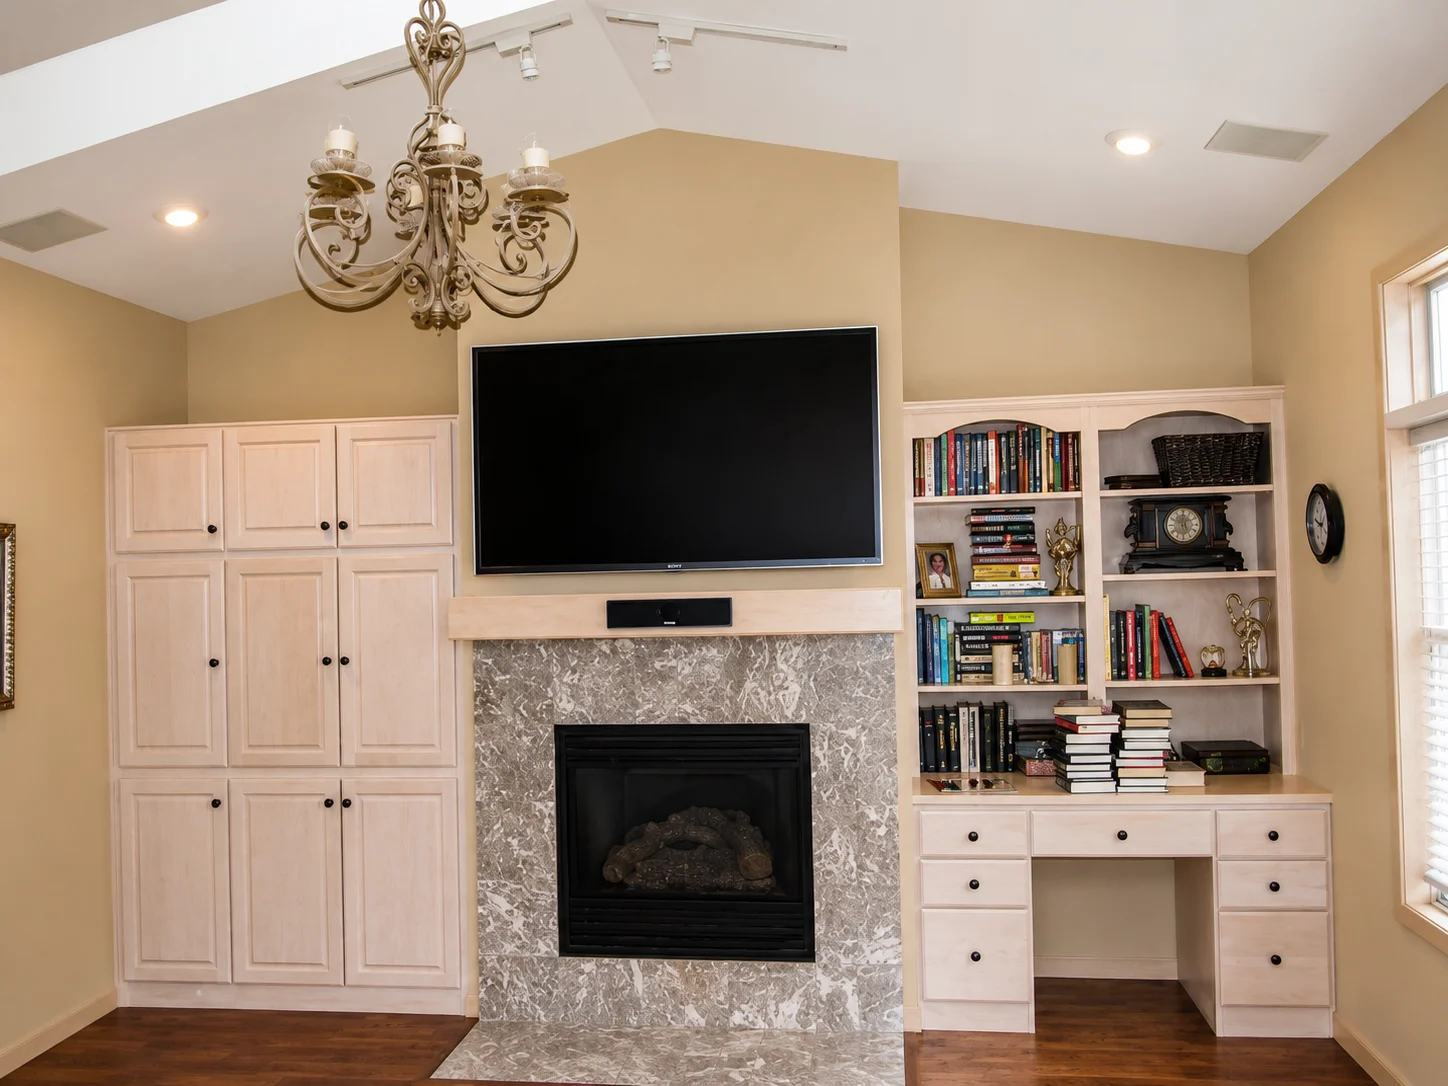
    Custom built-in cabinetry and fireplace surround finished in a light painted tone with integrated shelving and desk.
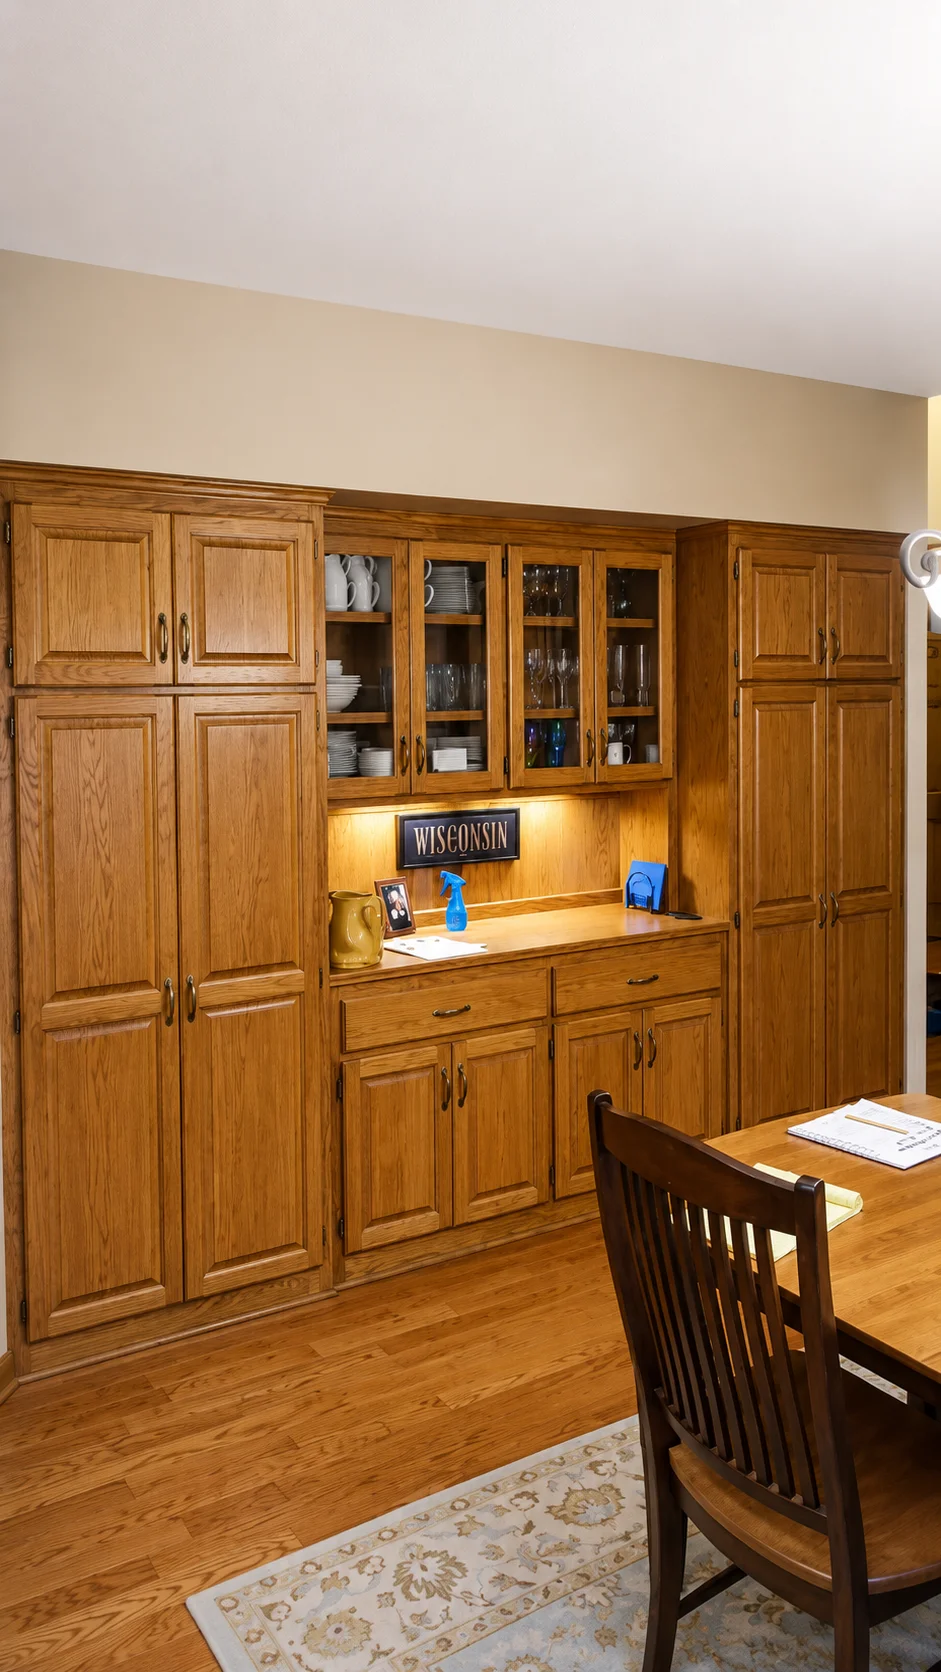
    Warm neutral wall color above stained wood cabinetry in a finished kitchen and dining area.
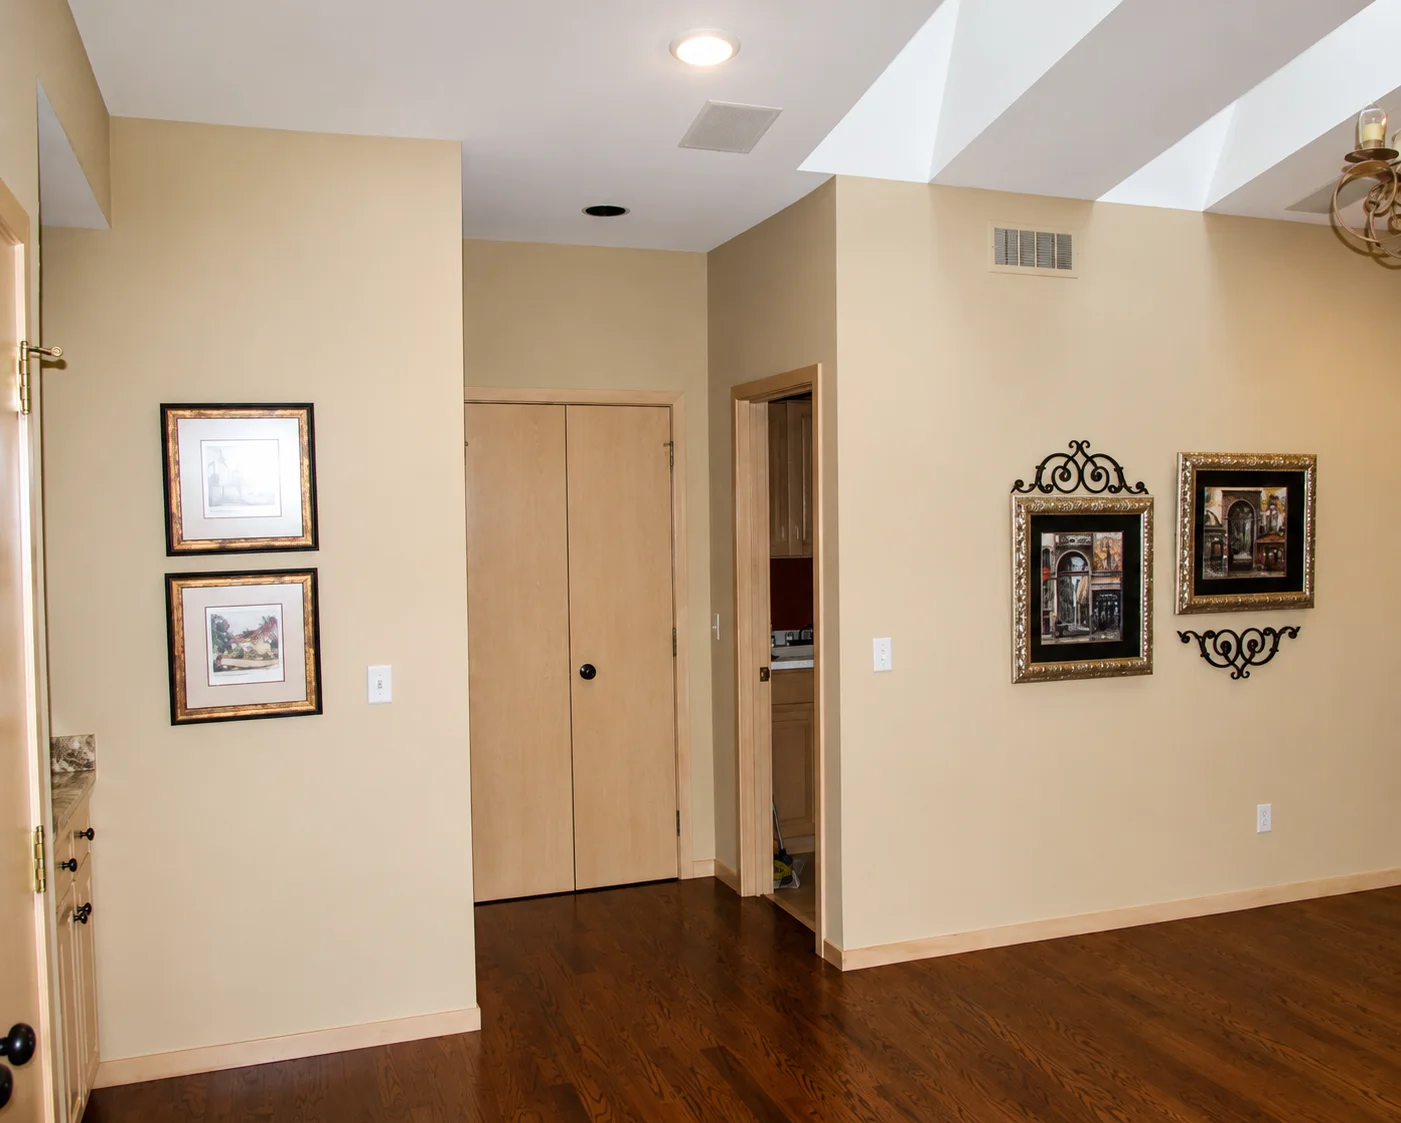
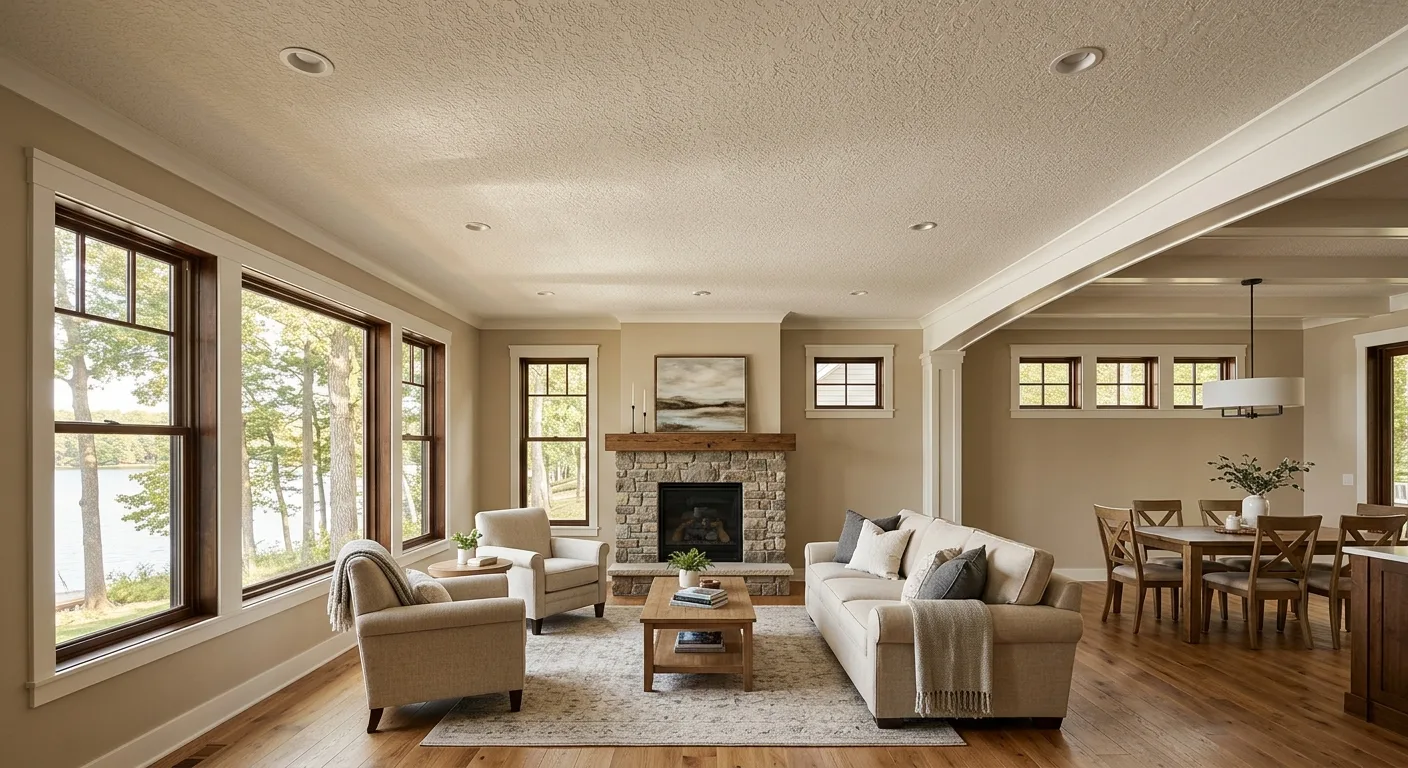
    Freshly painted beige interior walls with clean ceiling lines and wood floors in a bright room.
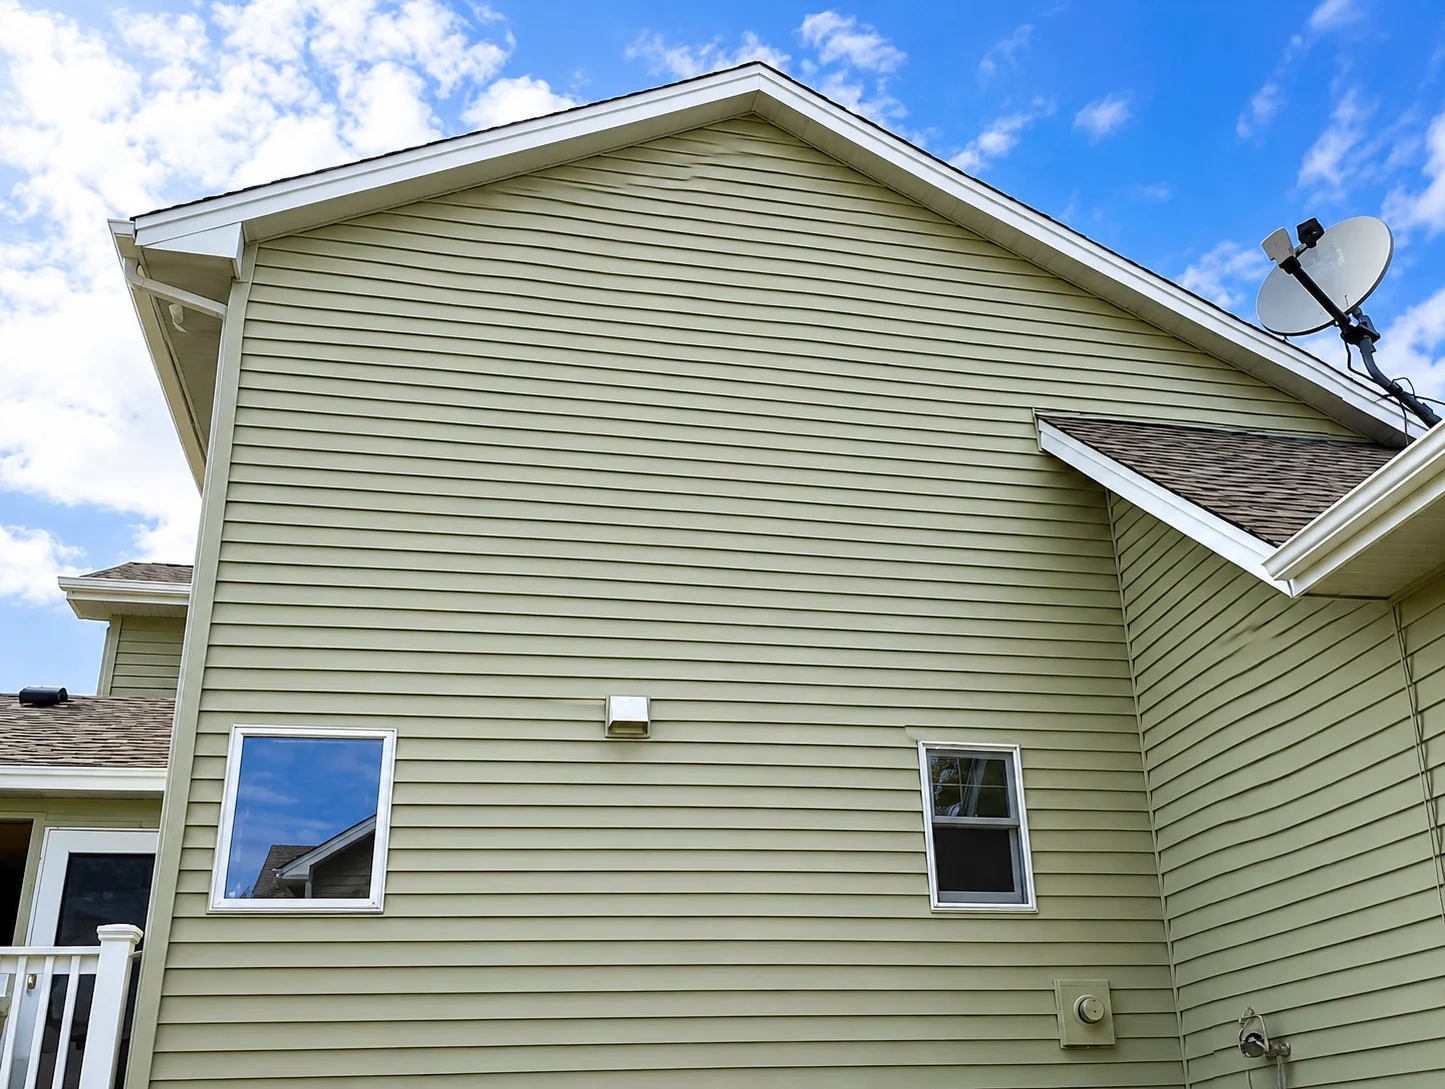
    Freshly painted exterior siding on a home under bright blue skies.
    Interior wall prepped and smoothed after wallpaper removal in a Twin Cities home.
    Drywall surface skim-coated and sanded smooth before priming after wallpaper removal.
    Good to Know

    Frequently Asked Questions

    Still have questions?

    Reach out — Mike is happy to walk through your project.
    Want it done right?

    Mike Webster has been painting homes around Lake Prior since 2000. Fully insured, with a real warranty.